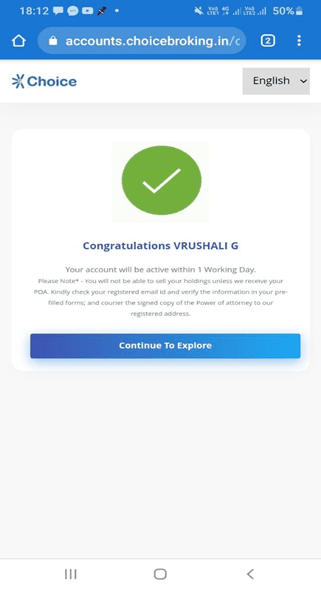
Choice Demat Account Opening Process Step by Step.
Steps 1
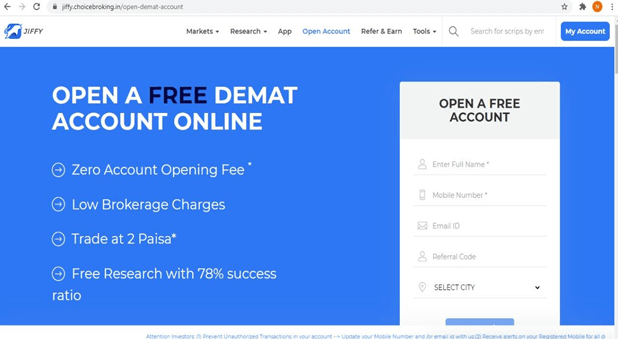
Click on ‘Open Your Account’ to visit Choice and start your account opening process. Enter your Email address and mobile number and other required details in the box on the right side of the webpage. Click on to proceed.
Steps 2
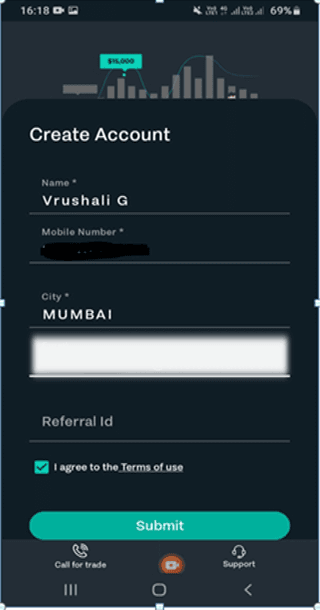
Or you can open an account by downloading Jiffy Application
Create an Account by filling in your Name, Mobile, City, Email id. Click Submit to continue.
Enter OTP received on your mobile number to verify.
Steps 3
Now enter your PAN details and Date of Birth. Click Next to continue.

Steps 4
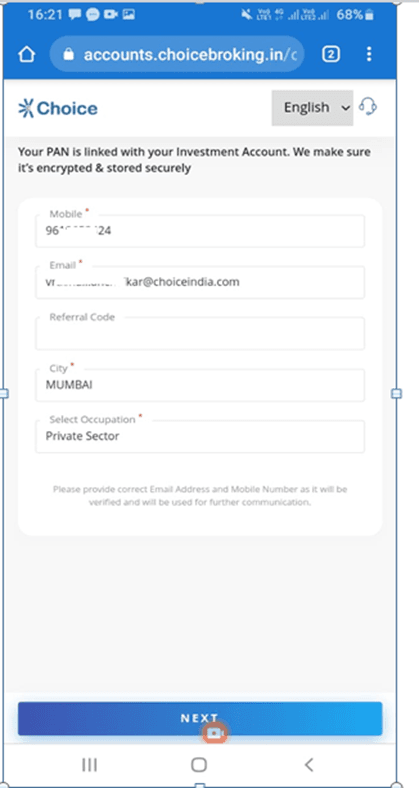
Now re-enter details like mobile number, e-mail address, city, and occupation. Click next & you will receive OTP over your registered email address & mobile number verify and click next to continue.
Steps 5
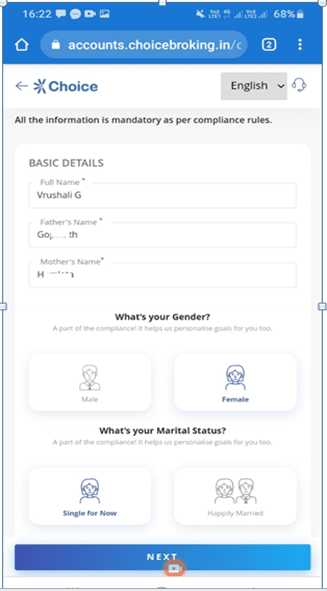
Now enter your additional details like Full Name, Father’s Name, Mother’s Name, Gender, Marital Status. Click Next to continue.
Steps 6
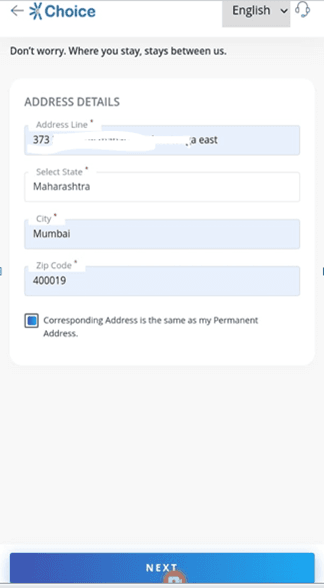
Enter exact address as per Valid proof to be submitted (State, City, Pin code).
And if same for permanent address (click on the box). Click next to continue.
Steps 7
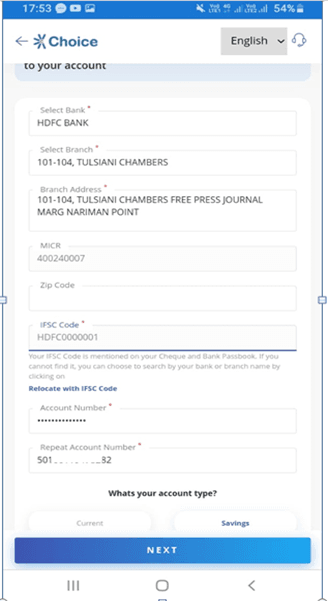
Now enter your bank account details to link the Demat account with by entering in the details. Click next to continue.
Steps 8
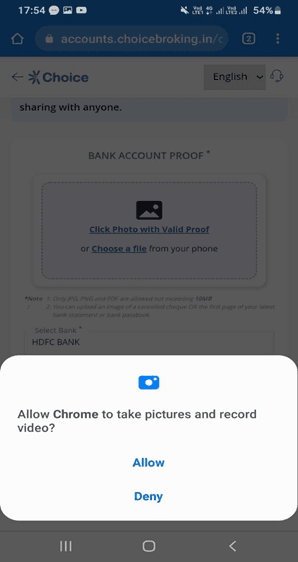
Allow Camera pop up access to take picture and record video to submit proof (cancelled cheque/Bank statement/Passbook).
Note in case Bank verification does not happen through penny drop then the system will ask to upload a cancelled cheque copy. Upload Bank proof as Cancelled cheque and click on NEXT.
Steps 9
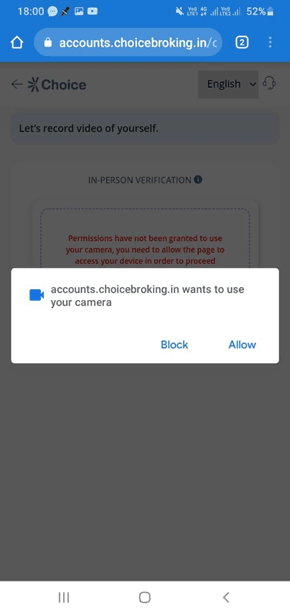
ALLOW camera access to record IPV-IN PERSON VERIFICATION of client (Client just have to say his name, video time just 3-4 second only) and click on NEXT.
In case your phone android version is not supporting video IPV-- in that case system will auto switch to selfie IPV mode where you have to click a selfie with Govt. id proof.
Steps 10
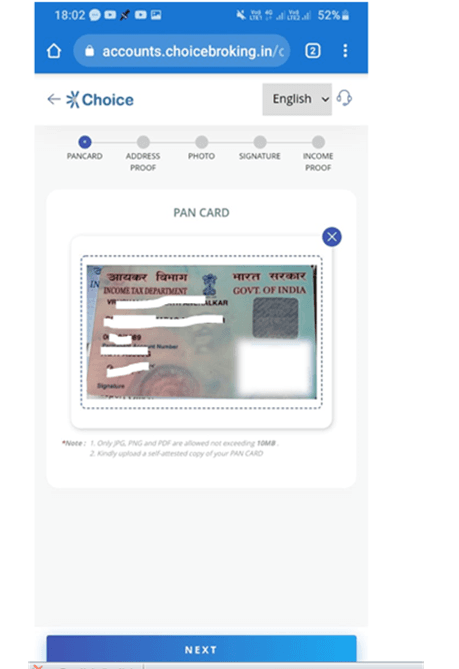
Now upload your PAN Card Image. Click Next after uploading documents.
Steps 11
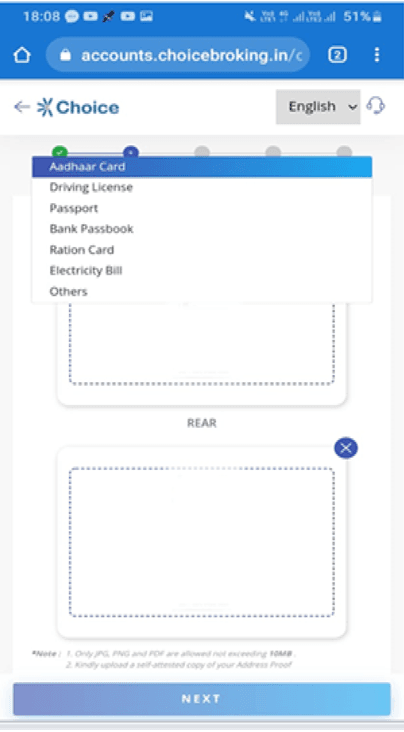
Now, upload your Aadhar image to proceed further. Click Next to continue.
Note for Aadhar front and back then upload as per slot given, if single Aadhar image then upload the same image on both the side.
Steps 12
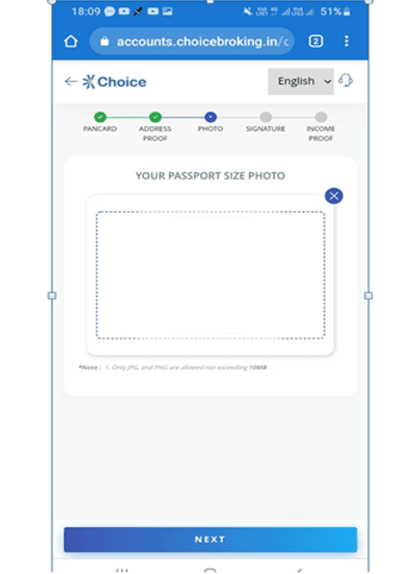
Upload your passport size photo. Click Next after uploading a clear image.
Steps 13
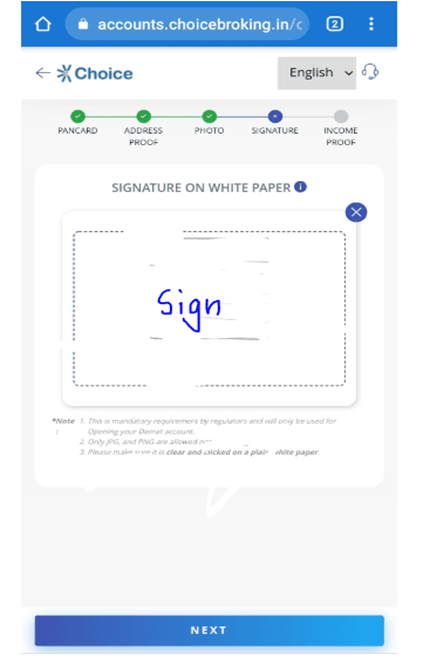
Upload your signature now (sign on white paper), Make sure the sign is visible.
Click Next after uploading the signature.
Steps 14
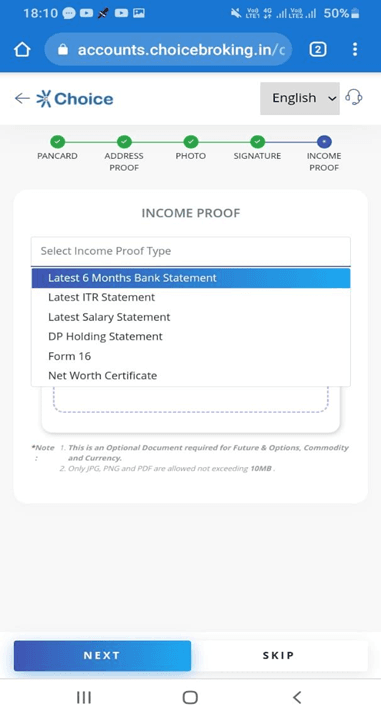
Now upload your Income proof it is required for required trading in Future & Options and Currencies. Click Next after uploading documents.
Steps 15
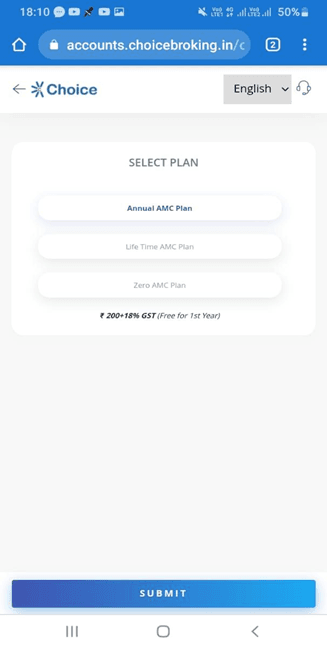
Now Select your desired PLAN and click on SUBMIT.
Steps 16
Verify over all details submitted and click on PROCEED.
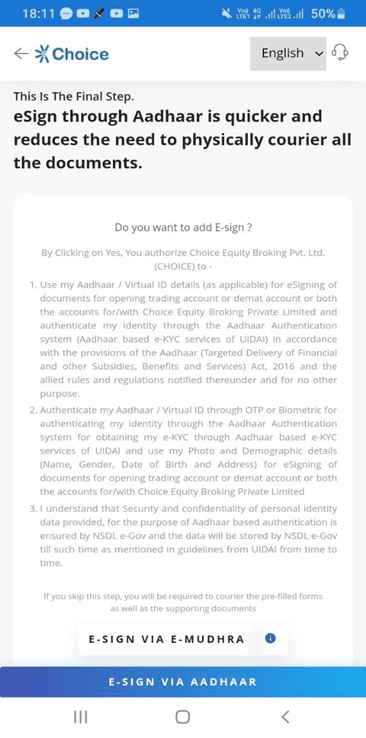
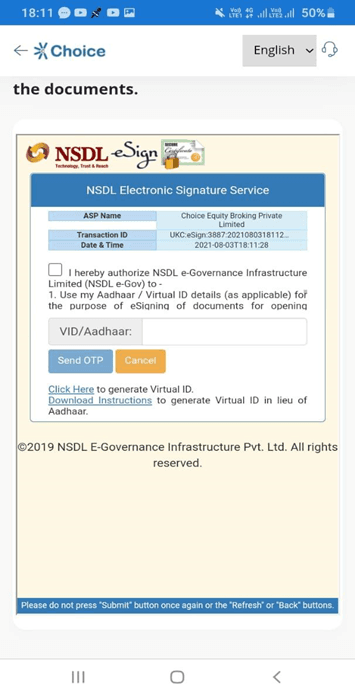
Now Select e-sign with Aadhaar OTP and click next to continue. Your Aadhaar needs to be linked with a mobile number to continue.
Steps 17
Enter your Aadhaar number, (OTP will be sent to the Aadhaar link email and mobile number) enter OTP in the online form and SUBMIT to complete the process. Click done to continue.
Steps 18
Congratulations, your account has been created. You can download your e-signed documents by clicking the link.It takes 1-2 days to open your account. You will also get the login credentials to your trading account in the welcome mail.
